Shujin Wu
MacOS VirtualBox VM on Ubuntu
Posted by Shujin Wu on February 23, 2017
Step 1: Download the Sierra installer from Mac App Store.
This should be done in you Mac and the installer will be placed in /Application/ folder.
Step 2: Prepare Sierra iso
Use geerlingguy’s script to prepare a sierra iso file.
git clone https://github.com/geerlingguy/macos-virtualbox-vm.git
cd macos-virtualbox-vm
chmod +x prepare-iso.sh
./prepare-iso.sh /Applications/Install\ macOS Sierra.app /Users/suzy/sierra.iso
Step3: Install VirtualBox in Ubuntu
You should have your VirtualBox and the Extension Pack installed, or use my ansible role
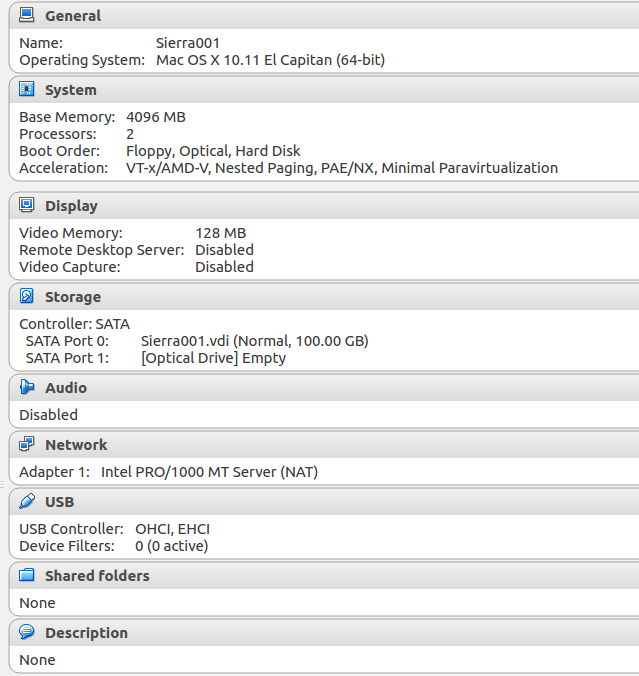
Step 4: Open VirtualBox and create a new VM.
Settings:
- name: your_sierra_vm_name
- type: Osx
- version: Mac OS X 10.11 El Capitan (64-bit)
- Other

Step5: Configure VM for MacOS (Very important!)
Run following commands and replace “Sierra” with ‘your_sierra_vm_name’.
VBoxManage modifyvm Sierra  --cpuidset 00000001 000306a9 00020800 80000201 178bfbff
VBoxManage setextradata "Sierra" "VBoxInternal/Devices/efi/0/Config/DmiSystemProduct" "iMac11,3"
VBoxManage setextradata "Sierra" "VBoxInternal/Devices/efi/0/Config/DmiSystemVersion" "1.0"
VBoxManage setextradata "Sierra" "VBoxInternal/Devices/efi/0/Config/DmiBoardProduct" "Iloveapple"
VBoxManage setextradata "Sierra" "VBoxInternal/Devices/smc/0/Config/DeviceKey" "ourhardworkbythesewordsguardedpleasedontsteal(c)AppleComputerInc"
VBoxManage setextradata "Sierra" "VBoxInternal/Devices/smc/0/Config/GetKeyFromRealSMC" 1
Step 6: Install Sierra
Insert sierra.iso to the sierra VM’s optical driver, and follow the instruction to install Sierra.
Note: In the installer, Go to Utilities > Disk Utility. Select the VirtualBox disk and choose Erase to format it as a Mac OS Extended (Journaled) drive.
Step 7: Remove sierra.iso and restart VM.
Reference
See also: